Learn how to upload an SVG File to Cricut Design Space with this simple tutorial. You can use this with graphics you purchase or graphics you create!
An SVG file, short for scalable vector graphic, can be resized large or small without losing quality. I love SVG files because they can be used with almost every cutting software. If you use Cricut Design Space, you can easily import these files and use them to make awesome projects!
When you download cut files online, they usually come in a zipped folder and need to be extracted before you can use the files. To extract, double-click the folder and then choose extract all. You’ll know the folder has been unzipped because you’ll see a new icon of an open folder in your directory. Now, you are ready to open the files in Cricut Design Space.
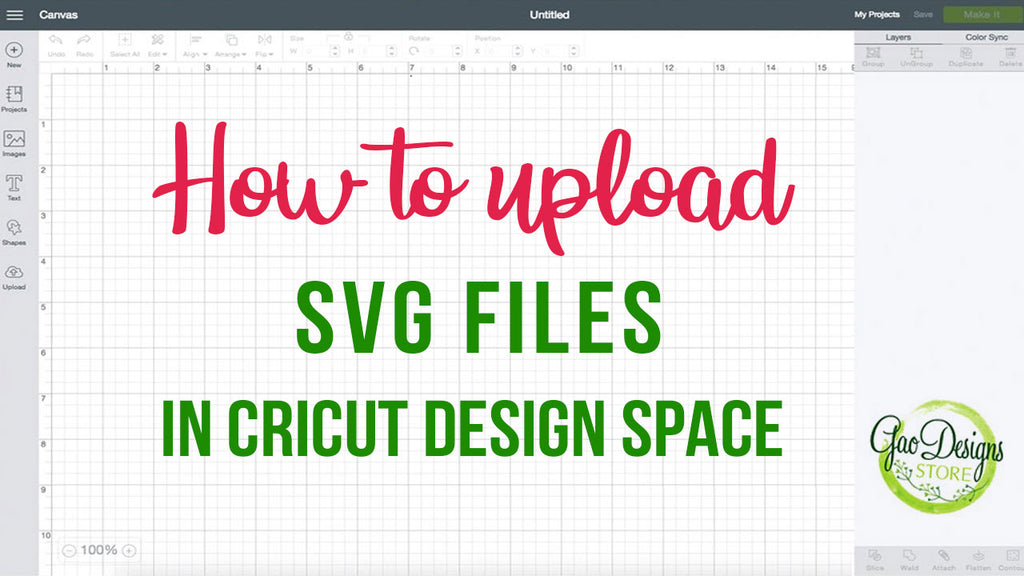
Here is how to upload a SVG file in Cricut Design Space
- Log in to Design Space
- Click the Create New Project button
- Click the Upload Image button
- Click the Vector Upload button
- Click the Browse button and locate your svg file that you want to import
Cricut Design Space
The file will be uploaded to Design Space and will appear in the Uploaded Images gallery. From there you can access it and work with it.
For more help with Cricut Design Space please visit them here: http://us.cricut.com/home/support/design-space
I hope this tutorial was helpful and you start using SVG files with your cutter!
Please comment with your tips, tricks and tutorials below, I'd love to hear what you have to say!
Be sure to pin this post so you can find it again! 🙂
Thank youuuu !